Direct answer
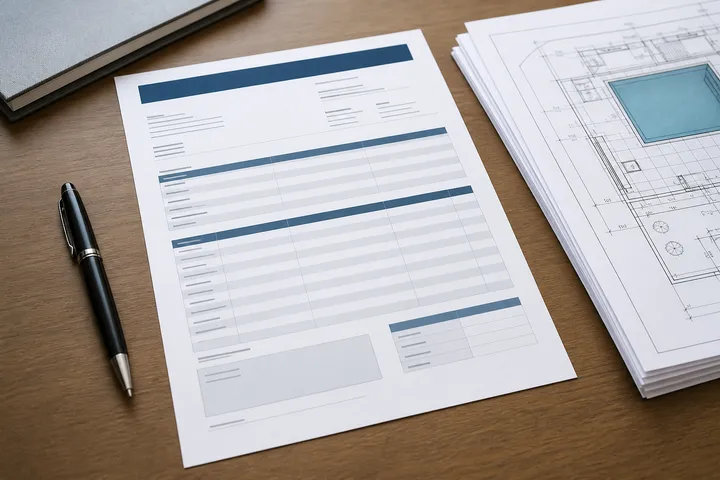
For an automatic pool cover quotation, record the pool's length, widths at several stations, both diagonals, coping and deck construction, obstacles in the track zone, housing space, power or hydraulic routing and pit drainage. Put the data on one sheet and use one unit system throughout.
Key takeaways
- Width at multiple stations plus both diagonals reveals whether the pool is square enough for standard tracks.
- Photograph everything you measure; suppliers resolve ambiguity from photos faster than from phone calls.
- Record deck construction and coping profile; track fixing methods depend on them.
- One unit system throughout; mixed units cause the most expensive class of quotation error.
One length and width do not describe a cover installation. The supplier also needs enough information to understand wall alignment, the track corridor, the roller end and the route for services. Record the information once and send the same issue to every bidder, as the RFQ guide recommends.
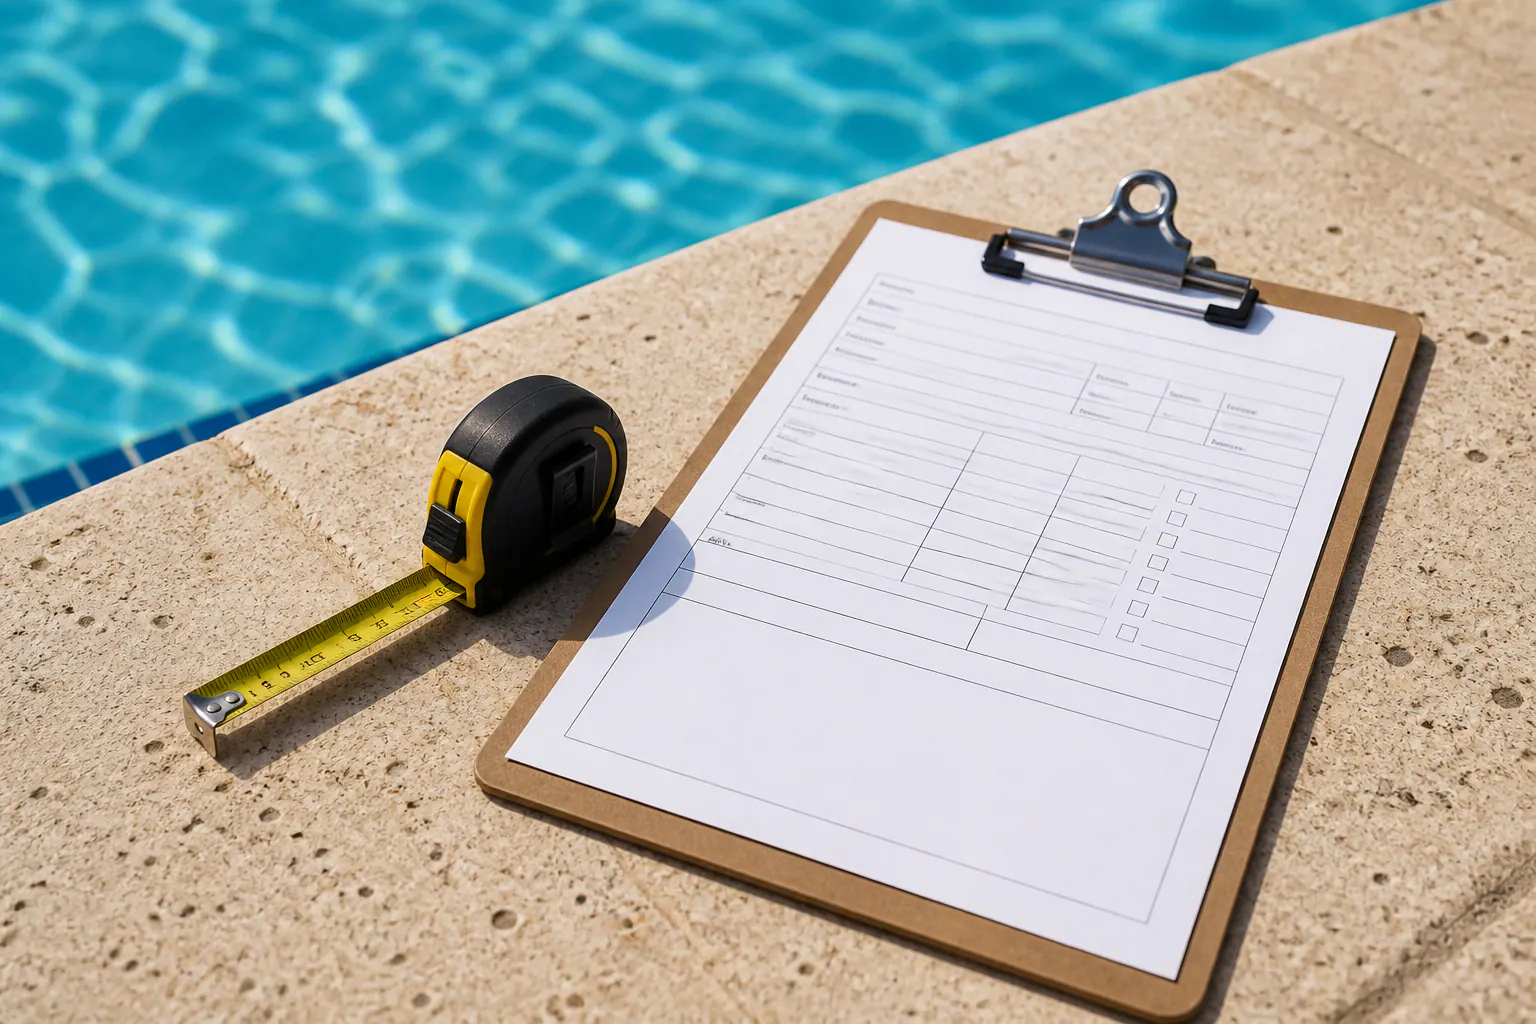
Section 1: Project information
- Project name and site address (climate matters; see covers in hot climates);
- New build or existing pool (why it changes the options);
- Indoor or outdoor; residential or commercial;
- Unit system used throughout this sheet: metric or imperial, without mixing the two.
Add the survey date, drawing revision and name of the person who measured. Mark whether the dimensions are for budget pricing or for an order. Final production dimensions should follow the installing supplier’s required verification process.
Set fixed reference points
Choose the roller end and label the pool corners before measuring. Use those labels on the sketch, photographs and dimension table. Measure from the same finished edge each time. If coping or deck construction is incomplete, state what surface the dimension represents.
Do not hide irregularities by rounding or averaging them away. Record the reading and add a note about the condition. The supplier can then decide whether another measurement or a different track layout is needed.
Section 2: Pool geometry
| Measurement | Value | Notes |
|---|---|---|
| Overall length (waterline) | ___ | Along cover travel direction |
| Width at end A | ___ | |
| Width at middle | ___ | |
| Width at end B | ___ | |
| Diagonal A | ___ | Corner to opposite corner |
| Diagonal B | ___ | Must be compared with Diagonal A |
| Depth at roller end | ___ | For housing options |
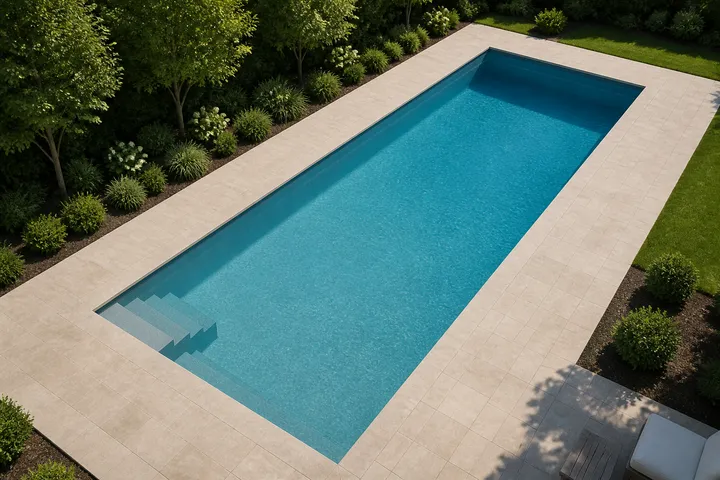
| Shape | rectangular / lazy-L / freeform | Sketch and photos attached |
If the two diagonals differ or the three widths disagree, note it rather than averaging it; the supplier must design around the true geometry, as explained in undertrack vs toptrack.
Add a small plan sketch with the corner labels, travel direction and dimension lines. It does not need to be a construction drawing. It does need to show which physical points produced each number in the table.
Section 3: Edge and deck construction
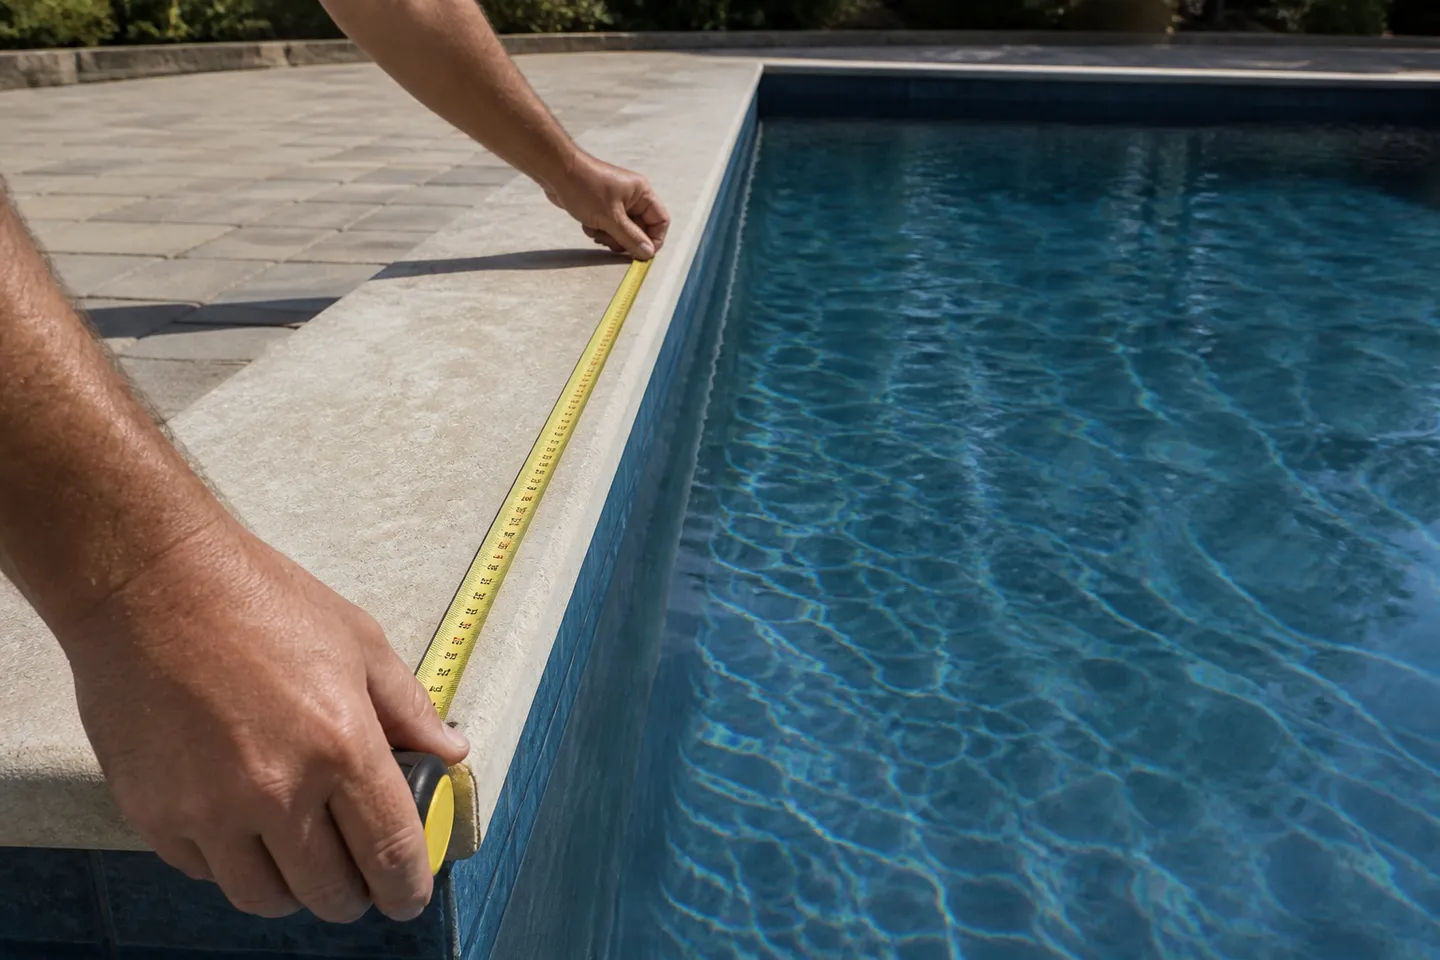
- Coping material and profile (photo of a cross-section or edge);
- Deck material and thickness within the track zone;
- Expansion joints, drains or channels crossing the track line;
- Raised walls, spas or water features on any side.
For an existing pool, photograph the track corridor at deck level as well as from above. A wide photograph shows the route. A close photograph shows the coping profile, joint or fixing surface. Include a scale or measured note where the detail is not obvious.
Section 4: Obstacles in the cover zone
Ladders, handrails, diving equipment, slides, rockwork, planters, umbrella sleeves; anything inside or within the track corridor, each with its position from a fixed corner.
Mark whether an obstacle is permanent, removable or due to be relocated. Do not assume the installer can work around an item simply because it can be unbolted. Its sleeve, anchor or remaining deck opening may still affect the track line.
Section 5: Housing, power and drainage
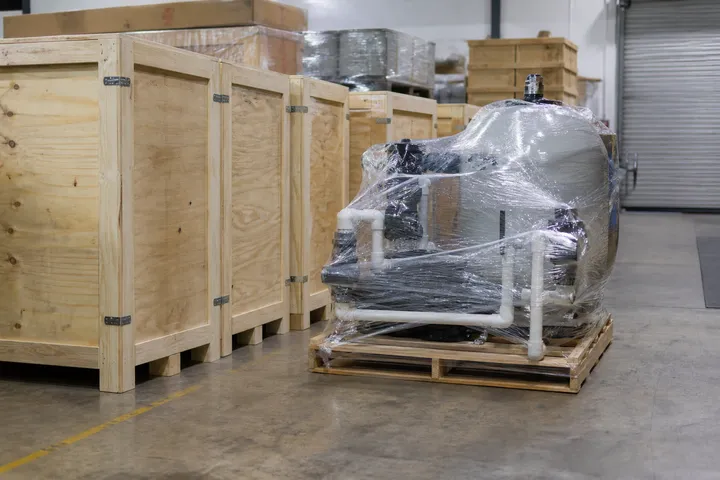
- Available space at the roller end: length × width × depth;
- Preferred housing type: recessed pit / bench / above-deck;
- Distance to nearest power supply, and voltage; or possible route for hydraulic lines (drive choice depends on this);
- Where can the housing pit drain to, and by what route?
Show how the housing lid opens and where a technician would stand. Record nearby walls, steps, planting and fixed furniture. For a bench or above-deck housing, include the available depth behind the roller end and the effect on deck circulation.
Power information should identify the known supply location and the person responsible for confirming its rating. For a possible hydraulic arrangement, show the proposed route to the remote power unit and the available service space there.
Section 6: Attachments
Photos of: all four sides, the roller end, the coping edge, every obstacle, and the equipment room. A one-page sketch with dimensions beats any description.
Name photographs with the project, corner or side label and date. Add arrows or short notes when a photo contains several possible reference points. Keep the original images so the supplier can zoom into details that were not obvious during the survey.
Check the sheet before issue
Use this final review:
- Every table value uses the stated unit system;
- Corner labels match the sketch and photo names;
- Widths, diagonals and roller-end space are all present;
- Track-zone obstacles and changes in level are marked;
- Housing access, service route and drainage are described;
- Preliminary and field-verified dimensions are clearly separated;
- The issue date and drawing revision are shown.
If one value remains uncertain, mark it open and explain how it will be confirmed. A blank cell is easy to miss once the sheet is attached to a quotation request.
Completed sheets go out with the RFQ package; the system-level planning context is in the complete automatic pool cover guide, and more working documents are collected in the Tools & Templates hub.
Frequently asked questions
Why measure width at several points along the pool?
Walls that look parallel often are not. Width readings at both ends and the middle, checked against the diagonals, tell the supplier whether standard parallel tracks fit or the layout needs adjustment.
Who should take the measurements; owner, contractor or supplier?
Anyone careful can complete the sheet for a preliminary quotation, but the dimensions for a binding order should be taken or verified by the installing party, on site, in one visit.
Sources
- ASTM F1346 Standard Performance Specification for Safety Covers — ASTM International Accessed August 23, 2026.
- Coverstar Installation Guide — Fluidra Accessed August 23, 2026.